
How to Build a Portal Website: Step-by-Step Guide for Businesses
Learn how to build a portal website for your business. Step-by-step guide covering planning, features, design, build vs. buy decisions, launch, and measuring success.
TL;DR: Learn how to build a portal website for your business. Step-by-step guide covering planning, features, design, build vs. buy decisions, launch, and measuring success.
Introduction
Every business hits the same wall. You start with email. Then shared drives. Then spreadsheets tracking who has access to what. Then a Slack channel for client questions, a Google Drive folder for each vendor, and a Dropbox link buried in a thread from six months ago that nobody can find.
At some point, you realize the problem isn't any single tool — it's that you don't have a single place where the right people can find the right information without asking your team for help.
That's the moment you need a portal website.
I've been building B2B software for over 20 years, and the pattern is remarkably consistent. Companies don't wake up one morning and decide they need a portal. They arrive at it through pain — missed documents, frustrated clients, duplicated work, security concerns, and an operations team drowning in "Can you send me that file again?" requests.
This guide walks you through how to build a portal website from scratch: the strategic decisions, the step-by-step process, and the mistakes I've watched hundreds of businesses make along the way. Whether you're building a client portal, a vendor portal, a member portal, or something else entirely, the fundamentals are the same.
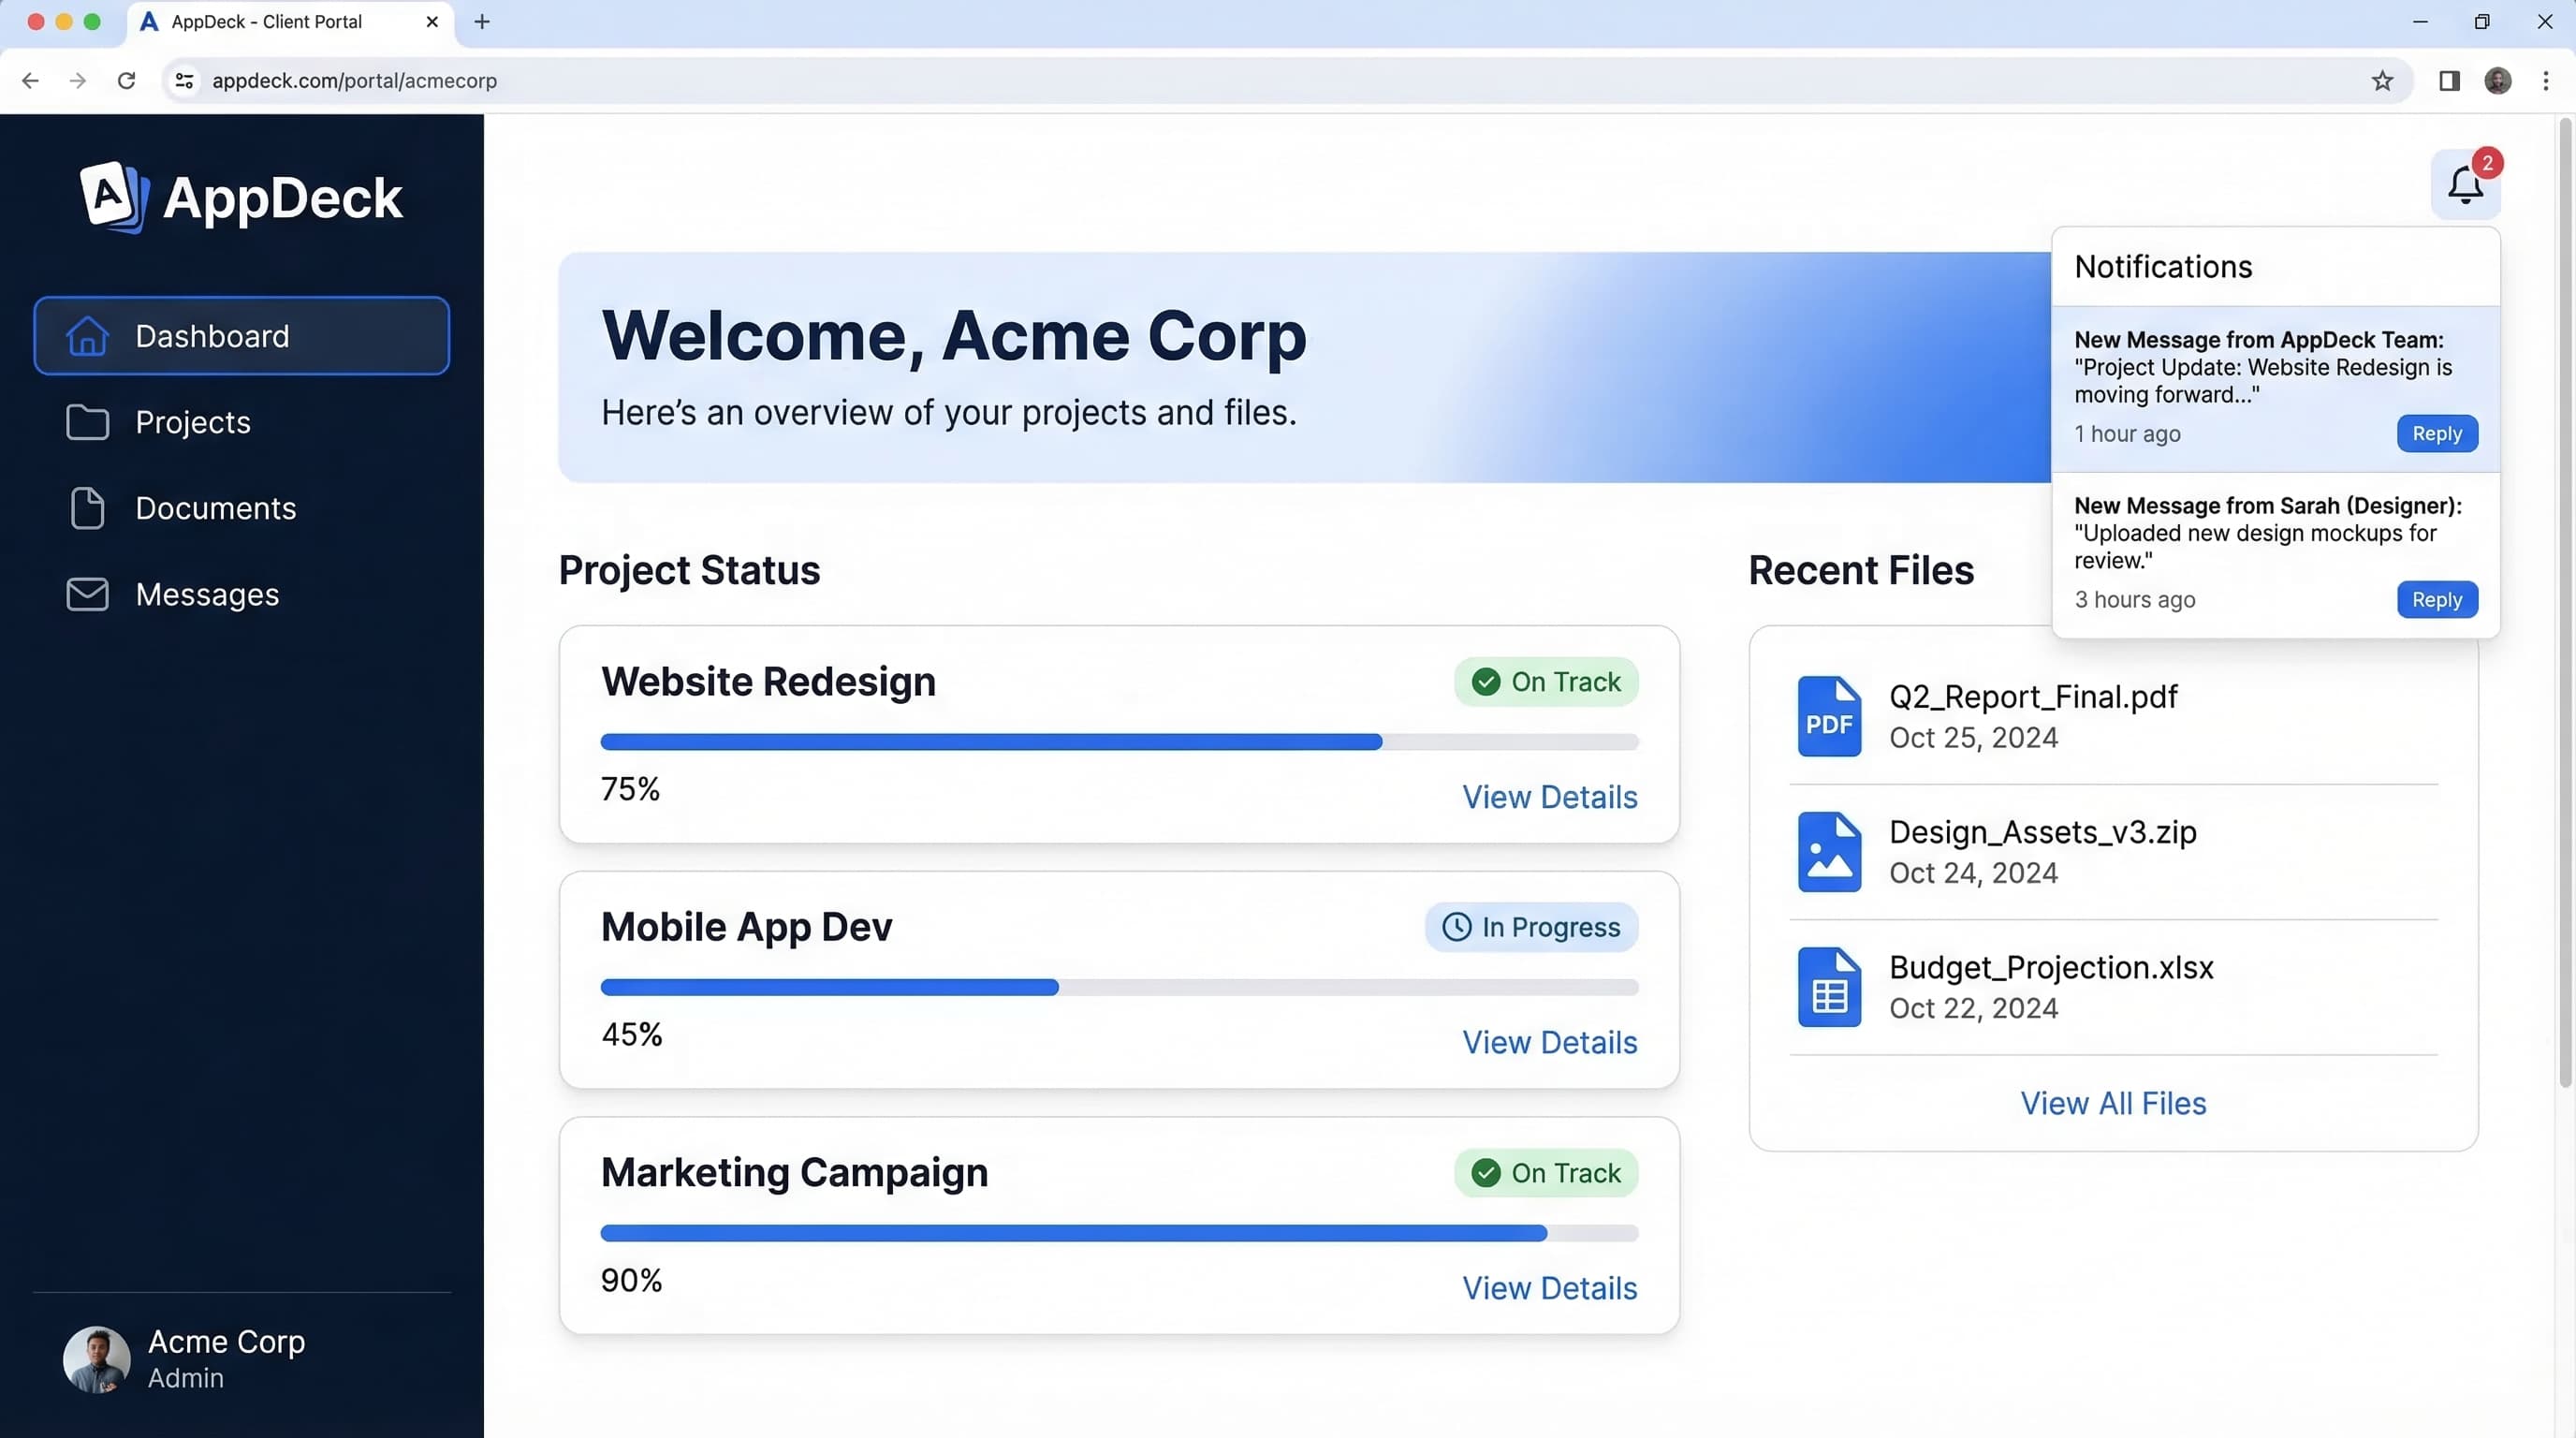
What Is a Portal Website?
A portal website is a secure, login-protected website where specific users — clients, vendors, members, investors, partners — access information, tools, and resources that are relevant to them. It's not a public website. It's a private workspace designed for a defined audience.
The key distinction is access control and personalization. A public website shows the same content to everyone. A portal website shows different content to different users based on who they are, what role they have, and what they're authorized to see.
What a portal website typically includes:
- Secure login — Users authenticate with credentials, SSO, or magic links
- Role-based access — Different users see different content, documents, and tools
- Document management — A centralized place to share, organize, and version files
- Communication tools — Messaging, notifications, and announcements within the portal
- Dashboards and reporting — Real-time data visualizations relevant to each user
- Self-service functionality — Users can find answers, submit requests, and complete tasks without emailing your team
- Branding — Your logo, colors, and domain so it looks like your own platform
Portal websites come in many forms. A client portal lets agency clients check project status and download deliverables. A vendor portal lets suppliers submit invoices and update compliance documents. A membership portal lets association members access resources, renew dues, and connect with peers. The underlying architecture is the same — the use case determines the features.
If your team currently answers the same questions repeatedly, forwards the same documents manually, or worries about who has access to sensitive files, a portal website solves all three problems at once.
Build vs. Buy: The First Decision
Before you plan features or sketch wireframes, you need to answer one question: are you going to build a custom portal, use a portal platform, or bolt a plugin onto an existing website?
This is the single most consequential decision in the entire process, and I've watched companies get it wrong in both directions — overbuilding when a platform would suffice, and under-investing when their needs genuinely required custom development.
Here's how the three options compare:
Option 1: Custom-Built Portal
You hire developers (in-house or agency) to build a portal from scratch using frameworks like React, Django, or Rails.
- Cost: $50,000 to $500,000+ for initial build
- Timeline: 3 to 12 months
- Maintenance: Ongoing developer time for bugs, updates, and security patches
- Security: Your responsibility entirely — authentication, encryption, penetration testing, compliance
- Best for: Companies with truly unique workflows that no existing platform can handle, or enterprises with dedicated engineering teams
Option 2: Portal Platform
You use a purpose-built portal platform like AppDeck that handles the infrastructure, security, and core features. You configure it for your use case.
- Cost: $50 to $500/month depending on scale
- Timeline: Days to weeks
- Maintenance: The platform handles updates, security patches, and infrastructure
- Security: Enterprise-grade by default — SSO, encryption, audit logs, role-based permissions
- Best for: Most businesses. You get 90% of what a custom build delivers at 5% of the cost, and you launch in weeks instead of months
Option 3: WordPress Plugin
You add a portal plugin (like WP-Client or Jejexa) to an existing WordPress site.
- Cost: $0 to $200/year for the plugin, plus hosting
- Timeline: Hours to days
- Maintenance: Plugin updates, WordPress updates, security vulnerabilities, plugin conflicts
- Security: Only as strong as your WordPress setup — which, for most businesses, is not strong enough for sensitive client or vendor data
- Best for: Very simple use cases like sharing a few files with a handful of users. Not suitable for anything involving compliance, sensitive documents, or professional client-facing experiences
My recommendation for most businesses: Use a portal platform. Custom builds make sense when your portal IS your product — when the portal experience is so central to your business model that you need total control over every pixel and workflow. For everyone else, a platform gives you speed, security, and features that would take a development team months to replicate.
I built AppDeck specifically because I saw this gap. Companies needed portal functionality that was more powerful than a WordPress plugin but didn't justify a six-figure custom build. If you're evaluating options, our pricing page shows what's included at each tier.
How to Build a Portal Website: 9 Steps
Step 1: Define Your Use Case and Audience
Before you touch any technology, answer three questions:
- Who will use this portal? Clients, vendors, members, investors, partners, or some combination?
- What problem does it solve? Be specific. "Better communication" is too vague. "Clients can see project status without emailing our account managers" is concrete.
- What does success look like? Fewer support emails? Faster document turnaround? Higher client retention? Define the metric you'll measure.
Write a one-page brief that captures:
- Primary user persona (role, tech comfort level, frequency of use)
- Top 3 problems the portal solves
- Top 5 actions users will perform most often
- Compliance or security requirements (HIPAA, SOC 2, GDPR, etc.)
This brief becomes your north star for every decision that follows. I've seen portal projects fail not because the technology was wrong, but because nobody clearly defined who it was for and what it was supposed to do.
Step 2: Map Your Features
Based on your use case, build a prioritized feature list. Split it into three tiers:
Must-have (launch blockers):
- Secure authentication (SSO, magic links, or username/password)
- Role-based permissions
- Document sharing with version control
- Branded login page with your domain
Should-have (first 90 days):
- Dashboards with live data from your existing tools
- Messaging or notification system
- Audit trail for compliance
- Mobile-responsive design
Nice-to-have (future roadmap):
- API integrations with your CRM, accounting, or project management tools
- Automated workflows (document reminders, approval chains)
- Custom reporting
- Multi-language support
The temptation is to build everything at once. Resist it. Launch with the must-haves, get users into the portal, collect feedback, then iterate. Every portal I've seen succeed followed this pattern. Every portal I've seen stall tried to ship a perfect product on day one.
Step 3: Choose Your Platform
If you followed my recommendation from the build vs. buy section, you're evaluating portal platforms. Here's what to look for:
- White-label branding — Your domain, your logo, your colors. No vendor branding visible to your users. I wrote a detailed white-label portal guide covering what to evaluate.
- Security certifications — SOC 2, encryption at rest and in transit, SSO support, granular permissions
- Integration ecosystem — Can it connect to the tools you already use (Salesforce, HubSpot, QuickBooks, Google Workspace)?
- Setup speed — Can you get a working prototype in front of stakeholders within a week?
- Pricing transparency — No surprise per-user fees that blow up your budget as you scale. Check AppDeck's pricing for an example of straightforward portal platform pricing.
- Support quality — When something breaks at 2 AM before a board meeting, can you reach a human?
Create a shortlist of 2 to 3 platforms, run a trial with each, and evaluate based on your must-have features from Step 2.
Step 4: Design the User Experience
Portal UX is fundamentally different from public website UX. Your users didn't choose to visit — they were invited. They're there to complete a task, not to browse. Every extra click is friction.
Key UX principles for portal websites:
- Dashboard first — The first thing users see after login should be a summary of what's new, what needs attention, and what's relevant to them
- Three-click rule — Any document or action should be reachable within three clicks from the dashboard
- Consistent navigation — Sidebar or top nav that stays the same across every page. Users should never feel lost.
- Clear labels — Use your users' language, not your internal jargon. If clients call them "reports," don't label the section "deliverables."
- Empty states — When a section has no content yet, show a helpful message explaining what will appear there and how to get started
Sketch your portal layout on paper or in a tool like Figma before building anything. Walk through the top 5 user actions and count the clicks. If any action takes more than 3 steps, simplify it.
Step 5: Set Up Security and Permissions
Security isn't a feature you add later. It's the foundation you build on.
Minimum security requirements for any portal website:
- Authentication — Support for SSO (SAML, OAuth), multi-factor authentication, and secure password policies
- Encryption — TLS 1.2+ for data in transit, AES-256 for data at rest
- Role-based access control (RBAC) — Define exactly what each user role can see, edit, and download
- Audit logging — Every login, document view, download, and permission change recorded with timestamps
- Session management — Automatic timeout for inactive sessions, ability to revoke access instantly
If your portal will handle financial data, healthcare information, or legal documents, you'll also need compliance-specific controls. Map these to your requirements from Step 1 before you start building.
A portal platform like AppDeck handles most of this out of the box. If you're building custom, budget significant engineering time for security — it's typically 30 to 40% of the total development effort.
Step 6: Migrate Your Content
Now comes the practical work: moving your existing documents, data, and resources into the portal.
Content migration checklist:
- Audit your current files — delete outdated versions, consolidate duplicates
- Create a folder structure that mirrors how users think (by project, by client, by category — not by your internal team structure)
- Set permissions on each folder and document before inviting users
- Test that every link, embed, and file opens correctly inside the portal
- Import user accounts and assign roles
The biggest mistake I see in content migration is importing everything. Don't do it. This is your chance to clean house. Only migrate documents that are current, relevant, and useful. Everything else stays in the archive.
Step 7: Test with a Pilot Group
Do not launch your portal to every user at once. Pick 5 to 10 users from your target audience and run a two-week pilot.
What to test:
- Can users log in without help?
- Can they find the documents or data they need within 30 seconds?
- Do notifications work correctly?
- Are permissions set properly (users only see what they should)?
- What questions do pilot users ask? These reveal UX gaps.
Collect feedback through a short survey and 2 to 3 live observation sessions where you watch users navigate the portal. The patterns you observe will save you from a painful full-scale launch.
Step 8: Launch and Onboard Users
Your launch plan matters as much as the portal itself. A well-built portal that nobody uses is worse than no portal at all.
Launch checklist:
- Send a pre-launch email explaining what the portal is, why it exists, and what users will find there
- Create a 60-second video walkthrough showing the login process and the 3 most common actions
- Schedule live onboarding sessions for users who prefer guided tours
- Set a "sunset date" for the old process — the date when email-based file sharing, spreadsheet tracking, or whatever the portal replaces is officially retired
- Assign an internal champion who monitors adoption and answers questions during the first 30 days
The sunset date is critical. If you give users the option to keep using email AND the portal, they'll use email. Make the portal the only path, and adoption follows.
Step 9: Measure and Iterate
A portal is not a project with a finish line. It's an ongoing system that evolves with your business. Track these five KPIs from day one:
- Login frequency — How often are users actually accessing the portal? Weekly active users is the best leading indicator of adoption.
- Time to first action — How long after login does a user complete their first meaningful action (download a document, view a dashboard, send a message)? Shorter is better.
- Support ticket reduction — Are you receiving fewer "Where's my file?" or "What's my project status?" emails? This is the ROI metric most stakeholders care about.
- Task completion rate — What percentage of users who start an action (uploading a document, submitting a form) finish it? Drop-offs signal UX problems.
- User satisfaction — A quarterly NPS or CSAT survey specific to the portal experience. Aim for a score above 40 within the first six months.
Review these metrics monthly for the first quarter, then quarterly after that. Use the data to prioritize your next set of features from the "should-have" and "nice-to-have" lists in Step 2.
Portal Website Examples
Here are three portal layouts showing how different businesses structure their portals for different audiences.
Client Portal for a Marketing Agency
━━━━━━━━━━━━━━━━━━━━━━━━━━━━━━━━━━━━━━━━━━━━━━━
  ACME AGENCY  |  Client Portal
━━━━━━━━━━━━━━━━━━━━━━━━━━━━━━━━━━━━━━━━━━━━━━━

  Dashboard
  ━━━━━━━━━━━━━━━━━━━━━━━━━━━━━━━━━━━━━━━━━━━━
  Welcome back, Sarah.

  Active Projects ................ 3
  Pending Approvals .............. 2
  New Messages ................... 1
  Next Milestone ................. Apr 12

  ━━━━━━━━━━━━━━━━━━━━━━━━━━━━━━━━━━━━━━━━━━━━

  Navigation:
  ━━━━━━━━━━━━━━━━━━━━━━━━━━━━━━━━━━━━━━━━━━━━
  [Dashboard]  [Projects]  [Documents]
  [Reports]    [Invoices]  [Messages]

  Recent Activity:
  ━━━━━━━━━━━━━━━━━━━━━━━━━━━━━━━━━━━━━━━━━━━━
  - Q1 Campaign Report uploaded         Mar 24
  - Website Redesign moved to Review    Mar 23
  - Invoice #1042 paid                  Mar 21
  - Social Media Strategy approved      Mar 20

━━━━━━━━━━━━━━━━━━━━━━━━━━━━━━━━━━━━━━━━━━━━━━━
Clients see only their own projects, invoices, and documents. The agency's operations team manages everything from the admin side. No more email threads asking for status updates.
Vendor Portal for a Procurement Team
━━━━━━━━━━━━━━━━━━━━━━━━━━━━━━━━━━━━━━━━━━━━━━━
  GLOBALCO  |  Vendor Portal
━━━━━━━━━━━━━━━━━━━━━━━━━━━━━━━━━━━━━━━━━━━━━━━

  Vendor Dashboard
  ━━━━━━━━━━━━━━━━━━━━━━━━━━━━━━━━━━━━━━━━━━━━
  Welcome, Apex Manufacturing.

  Open Purchase Orders ........... 7
  Pending Invoices ............... 3
  Compliance Status .............. Current
  Next Renewal ................... Jun 15

  ━━━━━━━━━━━━━━━━━━━━━━━━━━━━━━━━━━━━━━━━━━━━

  Navigation:
  ━━━━━━━━━━━━━━━━━━━━━━━━━━━━━━━━━━━━━━━━━━━━
  [Dashboard]     [Purchase Orders]  [Invoices]
  [Documents]     [Compliance]       [RFQs]

  Action Required:
  ━━━━━━━━━━━━━━━━━━━━━━━━━━━━━━━━━━━━━━━━━━━━
  - Upload updated Certificate of Insurance
  - Acknowledge PO #4821
  - Submit invoice for PO #4795

━━━━━━━━━━━━━━━━━━━━━━━━━━━━━━━━━━━━━━━━━━━━━━━
Vendors self-serve on document uploads, invoice submissions, and compliance tracking. The procurement team gets a unified view across all vendors without chasing emails.
Member Portal for a Professional Association
━━━━━━━━━━━━━━━━━━━━━━━━━━━━━━━━━━━━━━━━━━━━━━━
  NATIONAL FINANCE ASSOCIATION  |  Member Portal
━━━━━━━━━━━━━━━━━━━━━━━━━━━━━━━━━━━━━━━━━━━━━━━

  Member Dashboard
  ━━━━━━━━━━━━━━━━━━━━━━━━━━━━━━━━━━━━━━━━━━━━
  Welcome, David Chen.  |  Membership: Active

  Upcoming Events ................ 4
  CE Credits Earned .............. 18/30
  Unread Resources ............... 6
  Renewal Date ................... Dec 31

  ━━━━━━━━━━━━━━━━━━━━━━━━━━━━━━━━━━━━━━━━━━━━

  Navigation:
  ━━━━━━━━━━━━━━━━━━━━━━━━━━━━━━━━━━━━━━━━━━━━
  [Dashboard]  [Events]     [Resources]
  [Directory]  [CE Credits] [My Account]

  Featured:
  ━━━━━━━━━━━━━━━━━━━━━━━━━━━━━━━━━━━━━━━━━━━━
  - 2026 Annual Conference Registration Open
  - New Research Report: Market Outlook Q2
  - Webinar Recording: Regulatory Updates

━━━━━━━━━━━━━━━━━━━━━━━━━━━━━━━━━━━━━━━━━━━━━━━
Members access events, continuing education tracking, a member directory, and exclusive resources. The association tracks engagement and renewal rates through the admin dashboard.
5 Common Portal Website Mistakes
After building portal software for years and watching hundreds of businesses launch their own portals, I've identified the mistakes that come up most often.
1. Building Before Defining the Problem
The most expensive mistake is building a portal without a clear use case. "We need a portal" is not a use case. "Our clients email us 40 times a week asking for project status, and each response takes our team 10 minutes" is a use case. Start with the problem, not the technology.
2. Overloading the Portal at Launch
I mentioned this in Step 2, but it's worth repeating because it's so common. Teams try to launch with every feature they can think of — document management, dashboards, messaging, integrations, workflow automation, custom reporting. The result is a portal that's confusing to navigate, took three times longer to build, and overwhelms users on their first visit.
Launch lean. Add features based on actual user feedback, not assumed user needs.
3. Ignoring the Onboarding Experience
If you build a portal and send users a link with no context, adoption will be abysmal. I've seen portals with a 15% login rate after launch — not because the portal was bad, but because nobody explained what it was, why it mattered, or how to use it.
Your onboarding email, walkthrough video, and live sessions from Step 8 are not optional. They're the difference between a portal that people use and a portal that collects dust.
4. Making the Portal Optional
This is the silent killer. If users can still email your team and get the same result, they will email your team. The portal becomes a second system that creates more work, not less. Set a sunset date for the old process and stick to it.
5. Neglecting Mobile
In 2026, a significant percentage of your portal users will access it from a phone or tablet — especially executives checking dashboards, vendors submitting documents from job sites, or members browsing resources during conferences. If your portal doesn't work well on mobile, you're losing a chunk of your audience.
Test every core workflow on a mobile device before launch. Not just "it renders on mobile" but "a user can complete their top 3 tasks on a phone without frustration."
Frequently Asked Questions
What is a portal website and how is it different from a regular website?
A portal website is a secure, login-protected site where specific users (clients, vendors, members, investors, partners) access information, tools, and resources personalized to who they are. A public website shows the same content to every visitor. A portal website authenticates users and shows different content based on role, account, or permissions. Portal websites typically include secure login, role-based access controls, document management, dashboards with live data, communication tools, and self-service features. The use case (client, vendor, member, partner) determines the features, but the underlying architecture is the same.
Should I build a custom portal, use a platform, or add a WordPress plugin?
Use a portal platform like AppDeck for most business cases—you get 90 percent of what custom delivers at 5 percent of the cost, and you launch in weeks instead of months. Custom builds ($50K to $500K, 3 to 12 months) make sense only when the portal IS your product or you have truly unique workflows no platform can handle. WordPress plugins ($0 to $200/year) work for very simple file-sharing with a handful of users but lack the security, branding, and compliance features required for serious client, vendor, or member data. The decision should be driven by complexity and security requirements, not cost alone.
How long does it take to build a portal website?
A portal platform deployment takes days to a few weeks: 1 to 3 days to configure branding, permissions, and structure; 1 to 2 weeks to migrate content and run a pilot with 5 to 10 users; another 1 to 2 weeks for full rollout and onboarding. Custom builds take 3 to 12 months including discovery, design, development, security review, and beta testing. WordPress plugin setups take hours to a few days but require ongoing maintenance for plugin updates and security patches. Plan for 2 to 4 weeks total from decision to live with most users on a platform-based approach.
Who should own the portal and drive adoption?
Operations or customer success typically owns the portal day-to-day because they're closest to the user pain it solves. IT handles security and SSO integration. Marketing owns the launch communication and branding. A senior executive sponsor matters more than people realize—portals fail without leadership backing because users default to email when given the option. Designate one internal champion who monitors adoption and answers questions during the first 30 days, and set a hard sunset date for the old email or spreadsheet process. Without a sunset date, adoption stalls below 30 percent.
When should you skip the portal and just use email or shared drives?
Skip the portal when you have fewer than 5 to 10 active external users, when the relationship is one-off rather than ongoing, when document exchange is the only need and security isn't material, or when your team isn't prepared to enforce a sunset on email. A polished shared folder in Google Drive or Dropbox can deliver 70 percent of portal value for a small number of trusted users at zero cost. Reconsider once you cross 10+ active external users, when compliance (SOC 2, HIPAA, GDPR) requires audit logs, or when support tickets asking "where's that file?" exceed 5 hours per week of staff time.
Conclusion
Building a portal website doesn't have to be a six-figure project that takes six months. With the right approach — a clear use case, a prioritized feature list, and a platform that handles the infrastructure — most businesses can go from concept to working portal in weeks, not months.
The companies I've seen get the most value from their portals share three traits: they launched with a focused feature set, they made the portal the default way to work (not an optional supplement), and they measured adoption relentlessly in the first 90 days.
If you're ready to build your portal, AppDeck gives you the platform, security, and branding control to launch quickly without building from scratch. Check out our pricing page to see which plan fits your needs, or explore the product pages to see how portals work for clients, vendors, members, and more.
The best time to build a portal was when you first realized email wasn't scaling. The second best time is now.
Related Reading

Founder & CEO, AppDeck
Serial entrepreneur with 20+ years building B2B software companies. Former executive managing 2,800+ employees across three continents. Vik reviews all AppDeck content for accuracy and practical relevance.
Share this article
Explore Related Solutions
Related Articles
B2B Portal: What It Is, Why You Need One, and How to Choose the Right Platform
Everything you need to know about B2B portals. Types of portals (client, vendor, partner, investor), key features, how to evaluate platforms, and implementation best practices.
Partner Portal Software: 7 Best Platforms for Channel & Reseller Management
Compare the best partner portal software for managing channel partners, resellers, and affiliates. Deal registration, co-marketing, training, and performance tracking.
Client Onboarding Portal: How to Build One That Reduces Time-to-Value by 50%
Learn how to build a client onboarding portal that automates intake, collects documents, and gets clients to value faster. Step-by-step guide with examples and tool recommendations.